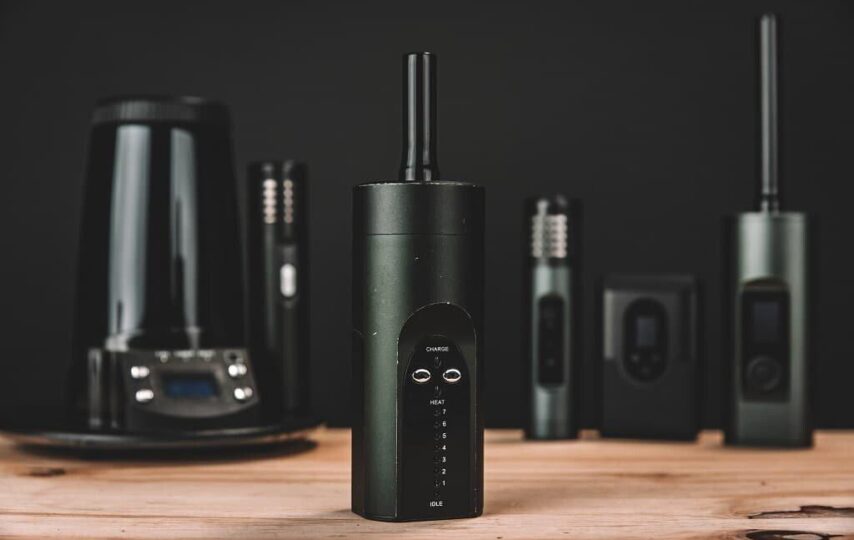
So, you’ve bought yourself an Arizer Solo II? Good for you! They are truly one of the best vapriser on the market and are super easy to use.
Not that you will have any trouble using one of these super handy herb vaporizers, but we thought we would share with you an intro guide all the same!
Check out this guide for handy hints and useful tips:
What comes with your Solo II?
The Solo II comes with the following:
- Arizer Solo II Vaporizer
- X1 vape wall charger
- X1 90mm aroma tube
- X1 110mm aroma tube
- X1 belt-clip carry pack
- X2 silicone stem caps
- X1 stainless steel stirrer
- X1 botanicals sample
- X4 stainless steel filter screens
- User guide
Getting your Solo II charged & ready to go
The Solo II comes partially charged, but it’s best to charge it all the way before giving it your first whirl. To charge your Solo II battery, simply insert the USB cable into the USB port that is easily found on the device’s bottom.
It takes about four hours to fully charge.
Packing the Solo II
The Solo II is different from other dry herb vapes as it works best when the herb is coarse and not so fine. Once you have produced a coarse grind, insert an aroma tube’s wide end into your herbs to fill the dish, taking care not to pack too tightly or press too hard. There should be around 1 mm of space remaining at the end of the stem.
Finally, carefully fit the top of the divide with the glass stem, ensuring that the device is upside down in the process, until it makes a nice fit and the herbs face toward the Solo II’s oven.
Setting your Solo II’s temperature
Turn on your Solo II by holding the M button and up arrow button for up to six seconds. The OLED screen will display a countdown indicating the power-on delay and a hello message which pops up when the device is one.
Press the up and down arrow keys to set the temperature. The temperature keys allow you to set the temperature in one degree increments (you can also keep the buttons held down to change in 10 degree increments).
It’s best to start at a temp of 180C – 185C as this provides the best flavour for your dry herb. Once the unit has heated up you will now be ready to vape!
Inhale your vape
If you’re looking for optimal cloud production, it’s a good idea to take 10 second, slow draws. If this is a little difficult at first, you can also slightly pull out the stem from the oven as this will increase the device’s airflow.
Clean your Arizer Solo II
All good vapes need a clean, but you will be thrilled to know that the Solo II is super low maintenance and you won’t have to find yourself cleaning it too often. All you have to do to clean the Solo II is occasionally soak it in isopropyl alcohol for a little while before rinsing off the residue in water – it’s that easy.
As you can see from this guide alone, the Arizer Solo II is one of the easiest vapes to use. Not only this, its low maintenance functionality makes it perfect for convenient usage.
Just follow the above tips and you will always enjoy a great sesh with your awesome Arizer Solo II!


