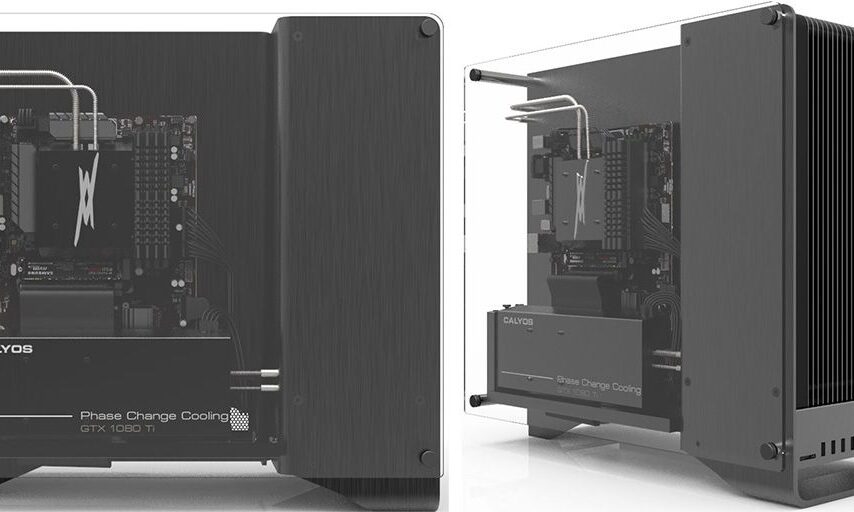
Many people love changes, even on their PCs. Sometimes there is a need to change the PC’s look for better performance towards working. Changing the PC cases is one of the aesthetic changes you can make. It can be technical because you need to change all the wiring and delicate parts of the PC. Before starting the procedure, there is a need to answer some questions.
Should I Change my PC Case?
You should do it if you want. You have to be sure of the correct size of the PC case. Even the case of the PC is not an essential part of the PC. It can work without the case. The case is to protect and keep all the PC parts together. You can buy the best PC cases for airflow to fulfill your desire.
You can move all the PC parts to a new case. You need to check its comparability with the motherboard. Then, you can move all parts along with proper wiring to the new case of the PC.
How Hard is it to Change PC Cases?
It is pretty easy to change PC cases. All you need to be careful about is the technicality of fixing different parts in a new case. You need to unplug all the parts and plug them into a new case. It is necessary to remember the plugs and their ports. The best thing is to take pictures of the inside PC before unplugging the parts.
We will tell you a step-by-step process of switching PC cases.
8 Steps to Swap PC Cases
Tools Required
Two screwdrivers (big and small)
Some bowls to keep the screws
Step 1: Unplugging
· Power off the button at the backside of the PC.
· Remove all the cables and all the jets from the back of your motherboard.
· Remove the display cable from the back of the graphics part.
· Remove the main AC cable from the back of your power supply.
Step 2: Removing over the easy stuff
· Lie your PC horizontally and remove the side panel.
· Remove dust filters setting inside the cover of the PC.
· It will help if you unplug the power supply.
· Unplug GPS PC cables.
· Now carefully detach the motherboard.
· You will see a gray ribbon cable IDE cable coming towards the hard drive.
· This IDE cable can be attached with glue. You need to remove it carefully.
· Then remove the power connector with the hard drive.
· Pull the connector firmly.
· Save the hard drive into an anti-static bag. It can be damaged from moisture.
Step 3: Unplugging Two Main Parts
· Now it’s time to reach down into the depths of the case.
· Take many photos of the wiring to remember them. It is a safety measure for the plugging of the case.
· Start by removing the 24-pin cable, which is generally on the right side of the motherboard.
· Next, remove the 4+4 pin cable, located more often at the top left of your motherboard.
· Now remove all the small cables inside the PC.
· Clean the parts of the PC with a microfiber cloth piece.
Step 4: Dismount the Carcass
· Remove the fans by unscrewing them.
· Then the radiator is carefully unscrewed.
· Remove the Power supply unit by unscrewing four screws that hold into the case.
· Detach the cables of the PSU carefully.
Step 5: Moving in
· It is time to move my PC parts into a new case.
· Place PSU in its place in the new case.
· Zip up the four screws to fix it.
· Place the motherboard in its place.
· Check the screws for attaching them with the motherboard.
· Secure the motherboard to the case with the screws.
Step 6: Cable Time
· Attach 24-pin cable and CPU cable.
· Then attach all the small cables by watching the pictures taken previously.
Step 7: Reinstall the CPU Cooler
· Install the radiator with the screws to the new case.
· Fix the fans of the CPU at their places.
Step 8: Finishing Up
· Place the hard drive in its case and fix it inside the new case.
· Attach all the cables with the drive properly.
· Install GPU and attach all the wires with it.
· Check on all the cables and then fix the upper cover of the case.
· Join all the power cables at the backside of the CPU and then switch it on.
Congratulations, you are done now. You have changed your PC case.


