As we have already known that Caliber does not have the function to CREATE eBooks, but one of its best functions is to CONVERT formats. We can take advantage of the conversion and create Your eBook from scratch using Google Docs and exporting as .docx.
Before starting I would like to say that an eBook is basically made up of:
- Cover
- Book date
- Index
- Text
- Text with
- League’s format
and we can add all this to our eBook with the help of Google Docs and Caliber.
In this article I am going to use Google Docs because it is free for Gmail users, but if you don’t have an account and you have Microsoft Word or Hotmail account, you can see the article “Create your eBook using Word and Caliber”.
To open Google Docs we enter our Gmail account and in the upper right we select the icon with 9 squares to display more google services, in the lower part of the box that appears, we have an option to display more, and another for even more of Google.

Being in all Google products, we look for Home & Office and there we find Google Docs.
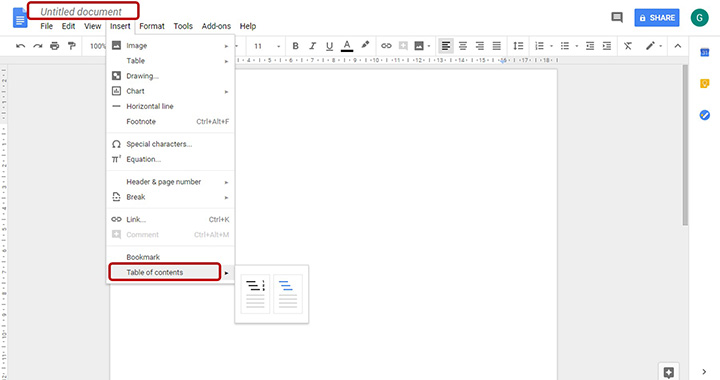
Once we are in Google Docs, we open a new document.
To create your eBook, we only need at least 2 text styles, these are:
- Normal text and Heading
- Normal
This type of text is as the name says, normal.
Heading
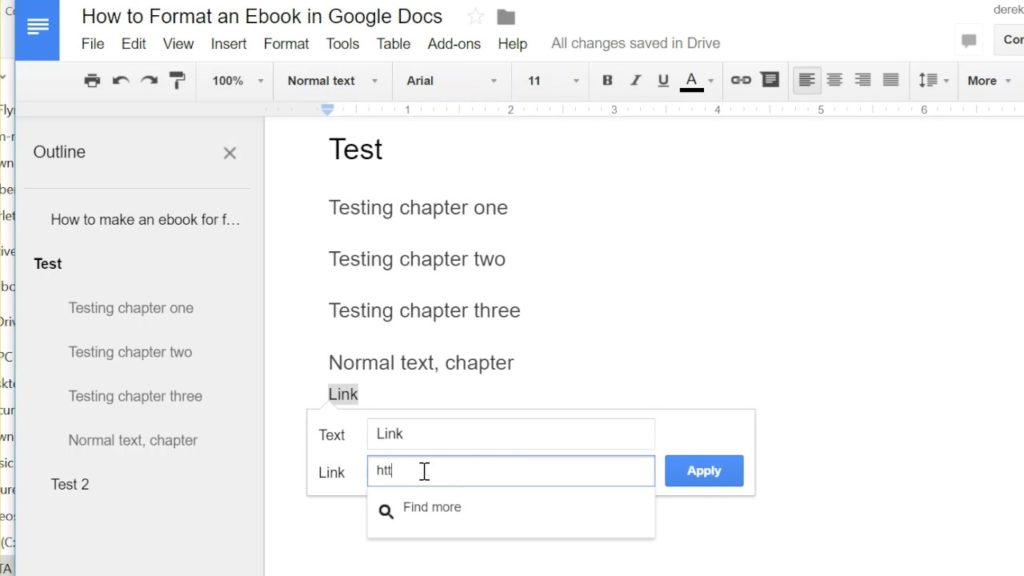
This is where the elaboration of our eBook gets interesting, because with the different Headings (or headings) we can create our index automatically. We start with Heading 1 for the title, Heading 2 for the subtitle, and so on.

With this we can start creating our eBook.
Google Docs
1. We select “Title 1” and we click on Heading 1 to create the first level in our index.
2. We continue repeating step 1 with all titles and subtitles.
Our eBook index would look something like this:
Heading 1 = Heading 1
Subtitle 1.1 = Heading 2
Subtitle 1.2 = Heading 2
Subtitle 1.3 = Heading 2 Heading
2 = Heading 1
Subtitle 2.1 = Heading 2
Subtitle 2.1.3 = Heading 3
With these 2 steps we can create our eBook, but we are going to see a little more to give it a little life and extra functions.
3. We can select our text and format it as color, bold, italic, center the text, links to web pages, etc.
4. To save it we go to “File” -> “Download as” -> “Microsoft Word (.docx)” and the download starts automatically.

Caliber
Now it is time to convert our document to an ePub format, we can also convert it to mobi for Kindle, but in this example, we convert it to ePub.
I suppose you already know about Caliber, if not … you can consult our articles related to this software and we can install it from here.
Steps to convert our document:
1. Open Caliber and drag our Word document to the Caliber interface.
2. We select our Word document and we click on “Convert books” and a new window appears.
3. From here we can edit various things, but we will focus on the basics.
Cover page.
Caliber generates a simple cover using the name of the book and the author, but if we already have the cover done, we can add it from here.
eBook data.
On the right side we find fields from where we can edit data such as: Title, Author, etc.
Format. In the upper right corner, we find the output format, from here we can select ePub, Mobi, or any other from a long list.
4. Once we have edited the basics, we click the “OK” button and in a few seconds our new format is generated.
The new eBook in a reader
Now that we have finished our eBook, it is time to test it before distributing it. We can do it from Caliber, iBook’s or any other application to read eBooks.

In the image below is the eBook with its index and the format we gave it.
Since we have this tool to create your eBooks, we can do tests from caliber to improve your eBook.


