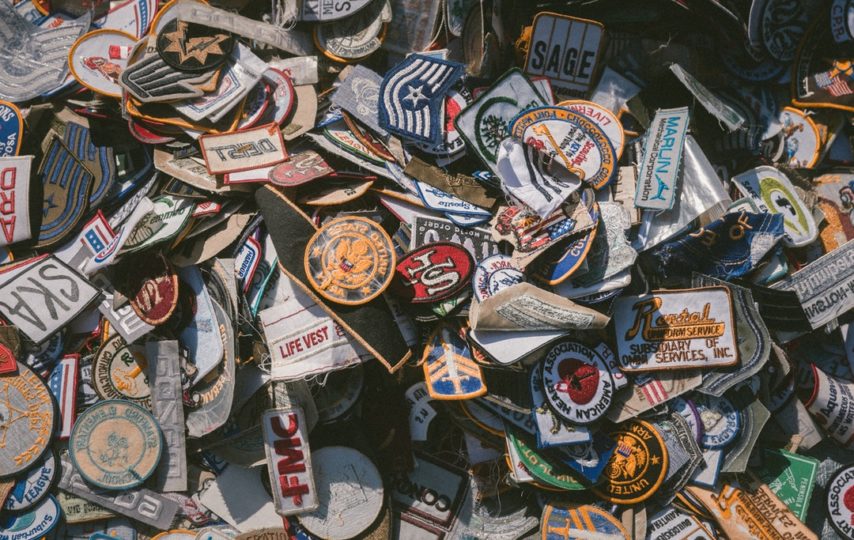
Custom patches have been around forever and a day. Heck, with a slight stretch of the imagination, you can trace their roots back to Ancient China! Although patches have modern roots in the military, we’ve been making versions of them for millennia.
More to the point, they’ve seen a boom in popularity in recent years. Celebs and fashionistas from around the world are stitching patches to their clothes like never before. Would you like to do the same?
Let us help! Check out our guide to designing your first custom patch.
Take Twill Into Account
The first step is to decide whether you or not you want your patch to be 100% embroidered or not. It doesn’t have to be!
All patches are stitched onto a piece of fabric that’s called the ‘twill’. Choose to embroider a smaller percentage of this and you’ll see the twill in the design itself. In many cases, it forms the ‘background’, while the embroidered section becomes the foreground.
As a rule of thumb, the more twill you can see, the cheaper your patch will be.
Avoid Excessive Clutter
Less is usually more when it comes to designing custom embroidered patches. Remember, these items tend to be small in nature! Try to squeeze too many elements into your design and it’ll seem cluttered; any text might become unreadable, and so on.
Likewise, complicated designs make it harder to put as much detail into each individual section. That’s bad news if you want your team or company logo to stand out, for example. That changes when you include fewer elements in your design.
Know That Size Matters
Always take size into account as well- especially if you plan to incorporate text into the custom patch design. Trust us, there’s nothing worse than receiving your new patches only to discover you can’t read anything on them! Keep all writing above ¼ inch in height to avoid that unfortunate fate.
It might help to sketch your design out on paper and to scale to ensure everything’s legible too. Designing your patch on a computer? Zoom out and check the life-size version before confirming the design with an embroiderer.
Be Bold
The real secret behind the best custom patches is boldness. In other words, go big or go home! A striking design with eye-catching elements is both easier to make and better-looking.
It’s a similar story with the colors you choose. There’s a time and place for subtle tones, but this isn’t it! If you’re designing a team patch that you want to be ideal for hats, for example, bright, vibrant colors with contrasting borders will make it stand out.
Time to Design Your Custom Patch
Patches have been designed, manufactured, and worn with pride throughout history. And they’ve seen a huge resurgence in popularity in recent years!
We hope the design ideas in this post will help if you’ve been planning to create a custom patch for yourself. To continue your education on topics like this, search ‘design’ on the website now.


